Wednesday, March 29, 2017

Homemade Playdough

Thank you for visiting. I now have a new home at www.countrypeony.com. I hope you will find me there.

If you follow me on Instagram, @thecountrypeony, you may have noticed that my three-year-old son and I love playing in the kitchen. He is at the age where he wants to try everything, and I try to encourage his enthusiasm for learning. Since my son loves playdough I thought it would be fun for him to help me make his own version. DIY Natural has a simple and easy-to-follow playdough recipe that we used.

My son and I had a great time making this playdough, but this is a very messy process (especially with an excited three-year-old). Therefore, I recommend a dose of patience added to the ingredients list.


Ingredients & Tools:
  • 1 cup of flour. Plus a handful of flour to help roll out your playdough onto the countertop. 
  • 1/4 cup of salt. I only used sea salt, because that is what I had on hand. 
  • 1/2 cup of water
  • 5 drops of food coloring
  • 2 mixing bowls
  • Spoon for mixing

In one bowl mix together the flour and salt. In another bowl mix together the food coloring and water.


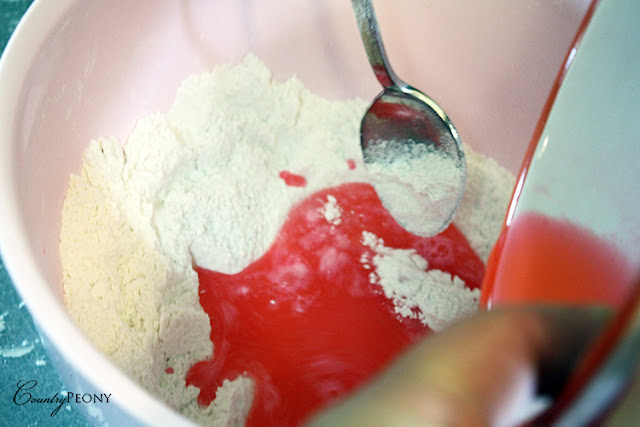
Then slowly add the food coloring/water bowl into the flour/salt bowl, stirring while you pour. 


Once all ingredients are stirred together, knead the dough until the flour is absorbed into the wet mixture. 


Then place some flour onto the countertop and continue to knead the playdough until you get the consistency that you like. Add more flour if it is too sticky, and more water if it is too dry. 


Finally it is time to enjoy the fruits of your labor, or hopefully a moment of quiet time as your child plays. 


I stored his playdough in a ziploc bag at room temperature. It lasted about a month until I thought it was time to start over. 

Whether or not your child is able to help with this project, I hope he or she enjoys the end product. 

Monday, March 27, 2017

DIY Tulle Balls

Thank you for visiting. I now have a new home at www.countrypeony.com. I hope you will find me there.

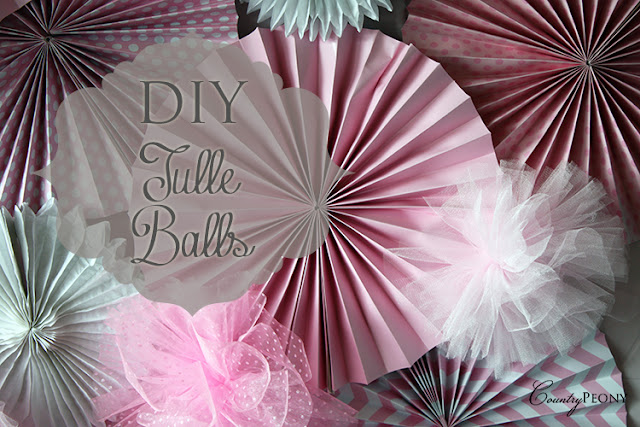
Is March almost over? I had every intention of getting this tutorial to you sooner, but February and March kept me busy. Better late than never; below is a tutorial for the tulle balls from my daughter's swan lake inspired, fan wall birthday backdrop that I adapted from the wonderful tutorial from Heidi Hope Photography


But first, some housekeeping: 
  • I used pipe cleaners instead of ribbon to tie the balls together. This allowed for better manipulation when I adhered the tutus to the wall. 
  • I cut the tulle first so that I could easily bring it through the donut hole stencil. 
  • It is important to keep your fabric taut to create a cohesive, finished tulle ball. 
  • I varied the thickness of each ball to allow for different dimensions. If you want your tulle ball to be full, overlap, overlap, and overlap. 
  • I marked one side of the top and bottom piece of my donut stencil so I knew what direction the pipe cleaner was going. 


For this project, you will need:
  • Circular base to create the stencil for the ball. I used a large mixing bowl for the outside of the stencil and a cup for the inside of the stencil. 
  • Thick paper for the stencil. I used cardboard from an old moving box. 
  • Tulle
  • Scissors to create the stencil and to cut the tulle.
  • Marker to create the stencil guidelines.
  • Pipe cleaner to keep the tulle together to form the shape of the ball. 
  • Tape to adhere the pipe cleaner to the stencil as you loop the tulle through the stencil. 


As mentioned above, use your circular objects to create a nice stencil. However, no one says they have to be pretty :). 


Next, adhere the pipe cleaner to one of the stencils. 


As noted above, I added guide marks to the top and bottom stencil so I knew what side to pull the pipe cleaner through once the tulle was spun. 


I started the end of the tulle at the end of the stencil, so the length was even throughout the ball. 


Once you have enough overlapping and fullness, cut the tulle at the end of the stencil to ensure the length of the ball is even. 


Next, you will cut the tulle in between the two stencils, and then twist the pipe cleaner with the stencils still in place. Be extra careful not to move the stencils up too much when you twist the pipe cleaner so the tulle stays in place. 


Once the pipe cleaner is tight around the tulle, you can pull the tulle out of the stencils. Voila! You have a fun show stopper that you can use in many different capacities. I think this fun decoration can be used a photo backdrop, in a fan wall, garland, table centerpiece, as part of a tutu skirt, and the list goes on and on. 


I hope you have just as much fun with these whimsical decorations as I did. 
Related Posts Plugin for WordPress, Blogger...